How to stop unwanted e-mail using Spam Filters.
This article will clearly explain how to stop unwanted emails using spam filter tool in cPanel. Spam Filters (powered by Apache SpamAssassin) is an automated filtering system that uses a variety of techniques to identify and filter spam messages.
This interface allows you to configure the spam filter settings (powered by Apache SpamAssassin) for your account. Spam filters identify and sort or delete unsolicited email, commonly known as spam.
You can also use this interface to configure your whitelist and blacklist settings.
Spam Filters
Spam filters are tools designed to identify and filter out unwanted or unsolicited emails, commonly known as spam. These filters use various techniques to analyze incoming emails and determine whether they are likely to be legitimate or unwanted. The goal is to reduce the amount of spam that reaches a user’s inbox, improving the overall email experience.
When you enable Spam Filters, powered by Apache Spam Assassin it uses scores to rate the likelihood that a message is spam. You can manage messages that Spam Filters marks as spam in a number of ways.
For example, you can route messages marked as spam to specific folders, or you can automatically delete them.
Enabling Spam Filters
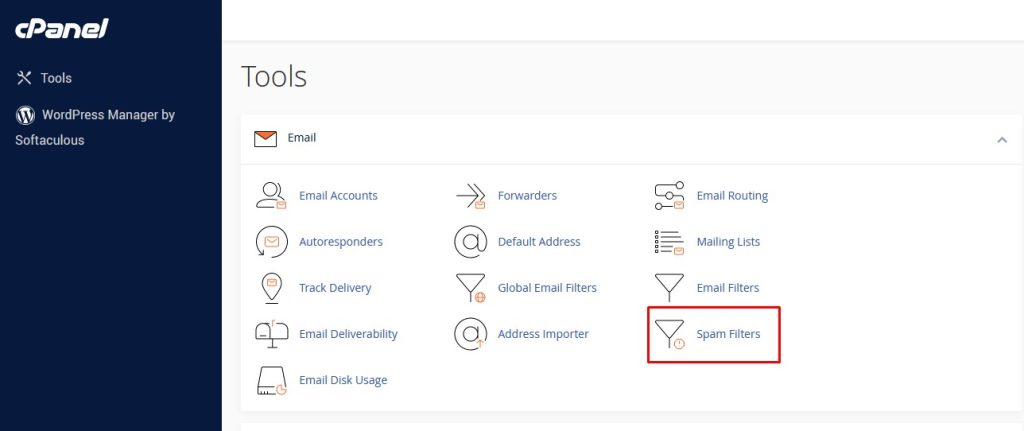
login to cpanel >> under Email >> Spam filters

On the Spam Filters page, click Process New Emails and Mark them as Spam.
This is the toggle to enable to identify the potential SPAM.Apache SpamAssassin examines every message for spam characteristics and assigns them a calculated spam score. This calculated spam score helps determine the likelihood that a message contains spam.
To enable auto-deletion of spam messages, click Automatically Delete New Spam (Auto-Delete).
Set this toggle to enabled to automatically delete messages that meet or exceed the Auto-Delete Threshold Score value.
To adjust the deletion trigger level, navigate to the Auto-Delete Settings and click on Configure. In the text box labeled Auto-Delete Threshold Score, input the desired score number, and then click on Update Auto-Delete Score to apply the changes.
Configuring Mail Spam Filters
You can further customize the parameters to control how Spam Filters examines incoming messages. You can also define whitelists (trusted senders) and blacklists (known spammers).
To customize Spam Filters in cPanel, follow these steps:
- Log in to cPanel.
- Open the Spam Filters tool
- If you are using the Jupiter theme, on the Tools page, in the Email section, click Spam Filters

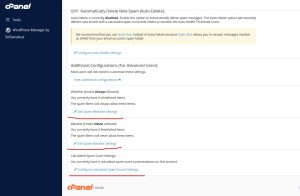
- On the Spam Filters page, click Show Additional Configurations.

- To configure whitelists, click Edit Spam Whitelist Settings:
- Click Add A New “whitelist_from” item, and then in the whitelist_from text box, you can specify e-mail addresses that are trusted senders.
- Click Update Whitelist (whitelist_from).
- To configure blacklists, click Edit Spam Blacklist Settings:
- Click Add A New “blacklist_from” item, and then in the blacklist_from text box, you can specify e-mail addresses that are known spammers.
- Click Update Blacklist (blacklist_from).

- To configure spam score settings, click Configure Calculated Spam Score Settings:
- Click Add A New “scores” item.
- In the scores list box, select the test name, and then type the score value.
Click Update Scoring Options.
Disabling Spam Filters
You can disable Spam Filters whenever you want. For example, if you are unable to receive a non-spam e-mail message, you can disable Spam Filters and ask the sender to resend the message so it reaches your account.
To disable SpamFilters in cPanel, follow these steps:
- Log in to cPanel.
- Open the Spam Filters tool
- On the Spam Filters page, click Process New Emails and Mark them as Spam. cPanel disables Spam Filters.
That’ it.
For general information about SpamAssassin (which runs Spam Filters,) please visit http://spamassassin.apache.org.
To know more about TCP/IP protocol in Computer networking and its importance click here.


